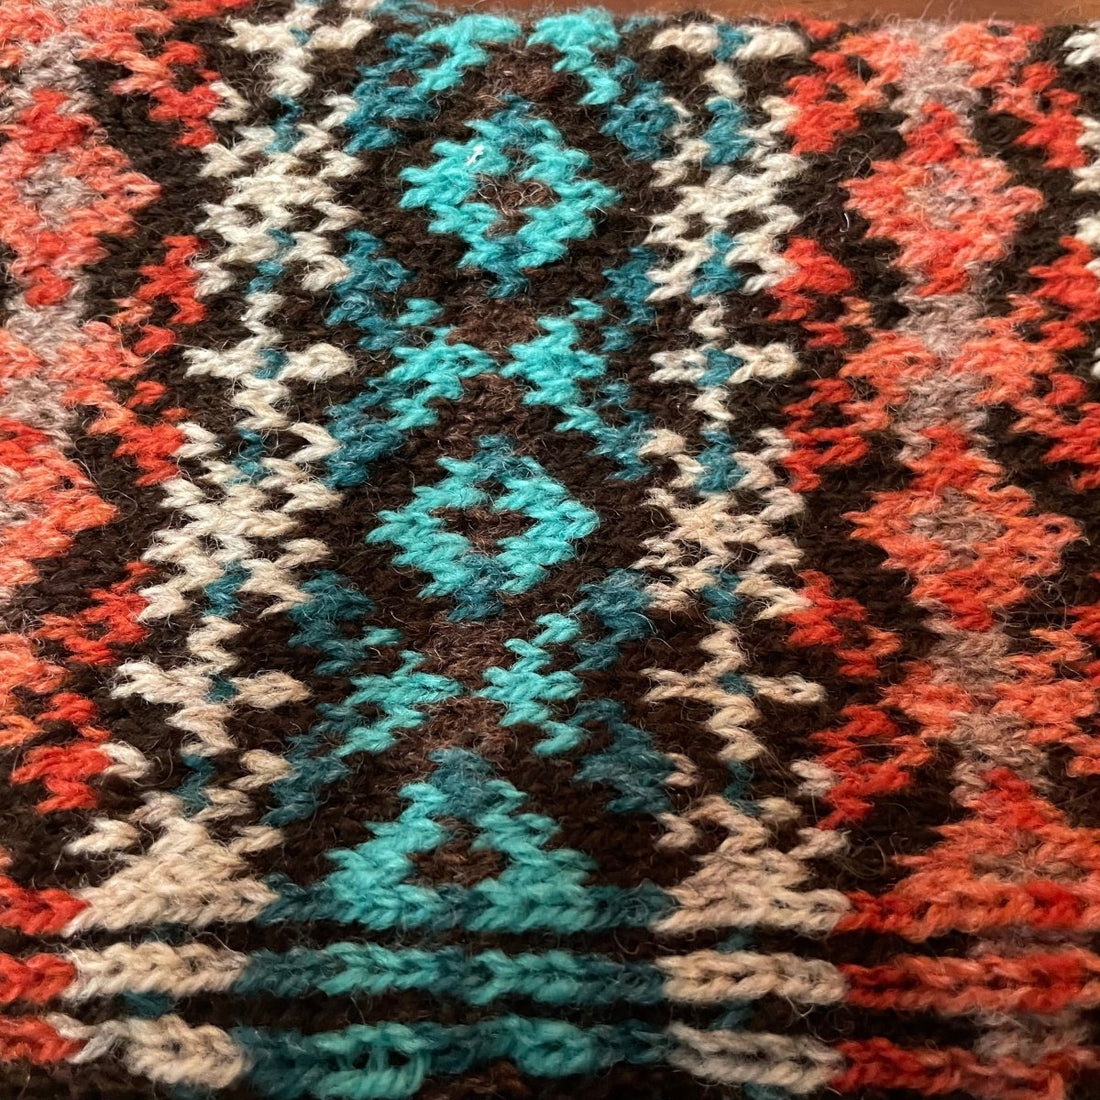
Steeking is one of those knitting techniques that intimidates a lot of people, but is actually quite convenient, easy and straightforward to do. It’s easy to understand why a knitter might find it scary — after all, when you’ve invested dozens of hours meticulously knitting colourwork, the idea of taking a sharp object to it seems slightly insane, but hopefully this guide will help make things a little less intimidating.
Knitted fabric can, essentially, be produced one of two ways. The first way is flat knitting, where one works across all stitches, turns the work, and works back. When knitting flat, one works the right and wrong side (the side that faces in, and the side that faces out) on alternate rows. The second way is working in the round, where instead of turning at the end of a row, one continues to work in a spiral. When knitting in the round, the same side of the work always faces the knitter.
When working complicated colour work patterns, it is much easier to work in the round than flat for several reasons. First of all, if one is following a chart, working in the round will mean that the chart is always read in the same direction instead of in an “s” pattern of alternating directions depending on the right or wrong side of the work. Secondly, most knitters find it infinitely more comfortable to do stranded colour work on the right (knit) side of the work than the purl side, particularly for keeping tension and floats consistent.
While items like hats, mittens, and pullovers can all be knit entirely in the round, there are simply some constructions (blankets, cardigans, scarves, etc) that require flat knitting. Steeking a very clever (and old!) knitting hack that allows the knitter to have a flat piece of colour work, without the frustration of purling in stranded knitting. Essentially, by casting on a set of extra stitches and then cutting and sewing them them after the work is knit, the piece can be knit comfortably, without limiting the options available to design.
choose your pattern
To demonstrate the basics of how this is done, and provide some handy tips I’ve picked up over the years on stranded knitting in general, I’ll be using the back of a dog sweater that I am making for my puppy, Miko, who will be joining our household in early November. I have changed the pattern considerably to adjust the size down, but if you’re interested in making your own, it is based on the pattern “Jack’s Jacket” by Outi Kater.
If you aren't a dog person, or would like to test out this technique on a project of your own, I would recommend choosing something that is small and low-stakes to reduce the amount of stress experienced when slicing into it later on. I have found that there are several mug cozy patterns on Ravelry that incorporate steeking that are a great way to learn and practice this technique!
Whatever pattern you choose, you should see that it has a section that is specifically for the steek. It is almost always an odd number of stitches, and to work it, you will alternate each of the two colours worked in each round. This section will end up folded under the wrong side of your work and usually won’t be visible.
choose your yarn
When choosing yarn for your project, make sure to pick something that is non-superwash! While many knitters gravitate toward the most luxurious yarns they can afford for their projects, stranded colourwork is best done in a toothier wool that holds more structure and has less drape. It doesn’t have to be a rough or unpleasant yarn by any means, but it should have some inclination to “stick” when it’s knit. This characteristic will keep your steek from fraying when it’s cut. If you use a slick non-wool or superwash yarn, when you cut the steek, it will fall apart when cut.
The yarns I would recommend most for steeking are: Shetland Jumper Weight (fingering weight, and what I used for my project), Finull (sport weight), Tukuwool DK (double knitting weight), and Lettlopi (worsted weight).
Next up: some tips I find helpful for steeking in particular, and stranded colourwork in general.

